Achieving smooth, flawless skin in portrait photography is a common goal for many photographers. With the advancements in photo-editing software, tools like DXO PhotoLab 6 have made this process easier and more efficient. The software provides powerful features that allow you to refine details and enhance your images without losing the natural feel. In this blog, we will guide you through the steps of how to smooth skin in DXO PhotoLab 6, ensuring a professional, polished look for your portraits.
From selecting the right tools to adjusting specific settings, the process is straightforward but requires attention to detail. Whether you’re retouching a model’s face or softening skin tones in a candid shot, PhotoLab 6 provides all the necessary tools. Let’s dive into how you can use the software’s features to perfect skin smoothness while maintaining a realistic texture.
Understanding the Skin Smoothing Process
Before diving into the tools, it’s important to understand what skin smoothing does. This process reduces the appearance of imperfections such as blemishes, wrinkles, and uneven textures. It ensures that the skin looks soft and even, which is ideal for portrait photography.
However, it’s essential to strike the right balance. Too much smoothing can make the skin appear artificial and overly soft, while too little may not provide the desired effect. DXO PhotoLab 6 allows you to control the level of smoothing to achieve a realistic yet polished finish.
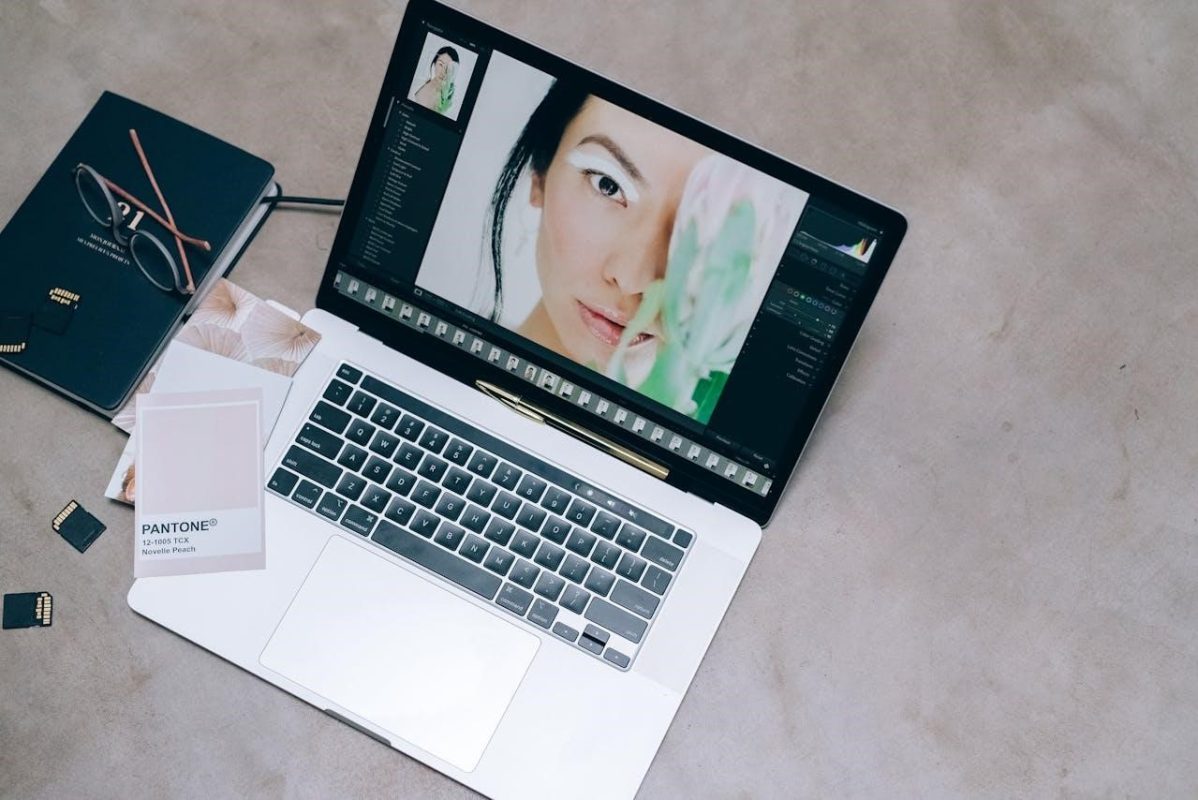
Choosing the Right Tool in DXO PhotoLab 6
To begin smoothing skin, you need to first select the appropriate tool within the software. DXO PhotoLab 6 offers several options for retouching, but the “Local Adjustments” feature is most commonly used for skin smoothing.
Within Local Adjustments, the “Smart Lighting” and “ClearView” sliders can help adjust the image’s exposure and clarity, which are useful for achieving a smoother look. These tools enhance overall skin texture while preventing harsh edits that could compromise the image’s realism.
Applying Local Adjustments for Skin Smoothing
Once you’ve chosen the right tool, begin by applying the local adjustment to the skin area. Use a brush or mask to isolate the skin from other parts of the image, ensuring that only the facial features are affected. You can use the “Repair” tool for smaller imperfections, such as blemishes or acne spots.
After selecting the skin area, adjust the “Texture” slider to soften the skin. Be sure to keep the adjustments subtle to avoid an overly edited look. Gradually increase the smoothing until you achieve the desired level of softness, checking the image frequently to ensure it still looks natural.
Fine-Tuning with the Denoising Feature
DXO PhotoLab 6 comes with advanced denoising capabilities, which are particularly useful when working with portraits. If your image contains grain or noise, use the “Prime” or “DeepPrime” denoising options to smooth out these imperfections.
The denoising tool works by intelligently removing unwanted noise while preserving fine details. This is particularly useful for portraits where a smoother texture is essential, as it will make the skin appear even more refined without losing any sharpness in the overall image.
Using the Softness and Clarity Adjustments
After applying basic skin smoothing, you can further refine the image with the “Softness” and “Clarity” sliders. These adjustments help fine-tune the look of the skin. Increasing softness can enhance the smooth effect, while adjusting clarity can preserve skin texture and bring back some definition where needed.
These controls allow you to balance smoothness with detail, ensuring that the skin doesn’t appear too flat or too rough. With careful adjustments, you can keep the skin’s natural characteristics intact while achieving a polished finish.
Enhancing the Overall Skin Tone
Smoothing skin isn’t just about texture; skin tone also plays a significant role in achieving a beautiful portrait. DXO PhotoLab 6 offers several tools for color correction and enhancement.
You can use the “Color” panel to adjust the warmth, saturation, and luminance of the skin tone. Often, a slight increase in warmth or a reduction in saturation can give the skin a more natural, glowing look. Ensure that these color corrections complement the smoothness you’ve achieved for the best overall result.
Finalizing Your Skin Smoothing Process
Once you have applied the smoothing and color adjustments, it’s time to review the image. Make sure to zoom in and check for any over-smoothing or unnatural effects. You can also toggle between the before-and-after view to compare your progress and see if further adjustments are needed.
If necessary, go back and refine specific areas where the skin might appear too soft or where texture might be missing. After perfecting the skin, ensure the rest of the image is balanced, with no harsh transitions between the retouched skin and other elements.
Tips for Maintaining a Natural Look While Smoothing Skin
While smoothing skin in DXO PhotoLab 6, it’s essential to maintain the natural appearance of your subject. Over-editing can lead to an artificial or plastic-like look, which should be avoided in most portraits. A few tips can help you ensure your edits stay realistic.
First, make sure you apply subtle changes. Start with minimal adjustments and gradually increase the smoothing until you achieve the desired effect. Additionally, focus on preserving natural details, such as freckles, moles, or wrinkles that add character to the skin. Over-smoothing can remove these unique features, making the subject appear less authentic.
Lastly, always check your work in the context of the full image. Zoom out regularly to assess the skin’s look in relation to the overall portrait. This will help you avoid heavy-handed edits and keep the subject’s skin looking naturally smooth while still retaining depth and texture.
Smoothing skin in DXO PhotoLab 6 is an efficient process that allows you to create stunning portraits with realistic, flawless skin. By using the right tools, such as local adjustments, denoising, and texture refinement, you can achieve a smooth, polished look without over-editing. The key is to maintain a balance between softness and texture to ensure the skin looks natural and lifelike.
With the features offered by DXO PhotoLab 6, achieving professional-level skin retouching has never been easier. Whether you’re a beginner or an experienced photographer, this software provides the necessary tools to enhance your portraits effectively. By following these steps, you can elevate your photography and create images that showcase both beauty and realism.